
Tutorial for Adding Flaps
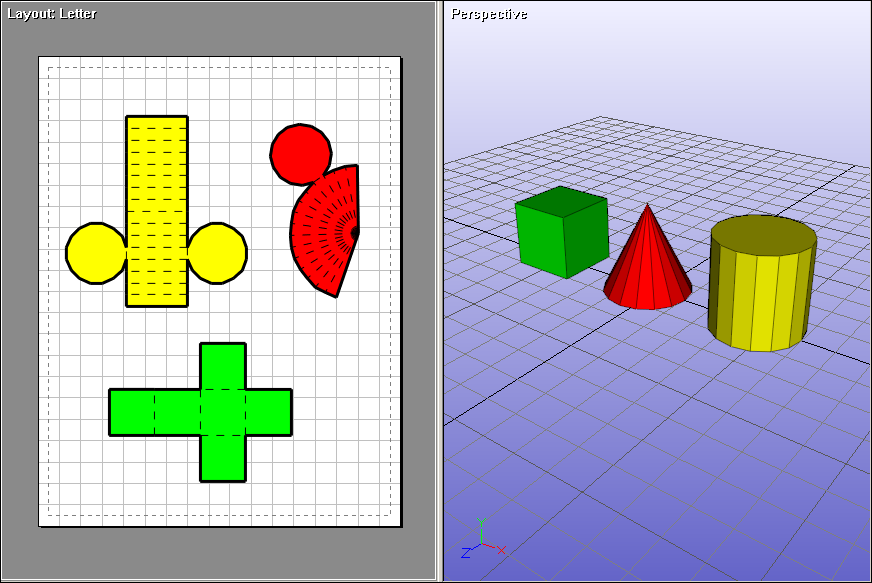
When a model is first imported and unfolded in Ultimate Papercraft 3D, by default, it won't have any flaps. This is intentional, as it reduces screen clutter, and lets you focus on arranging parts instead:
Adding Flaps
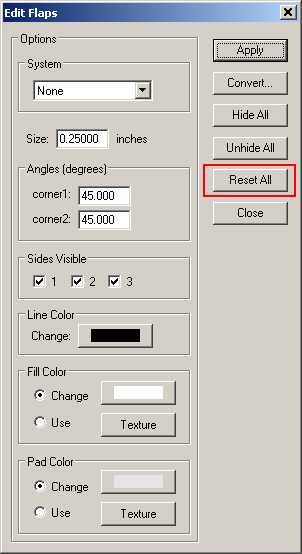
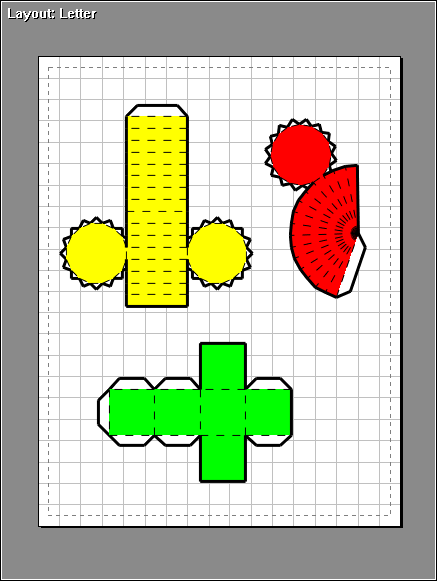
When it's time to add flaps, click Edit | Flap Settings, and click on the Reset All button. This will reset the flap visibility for all flaps. This will also ensure that every open edge has exactly one flap.
Editing Flaps
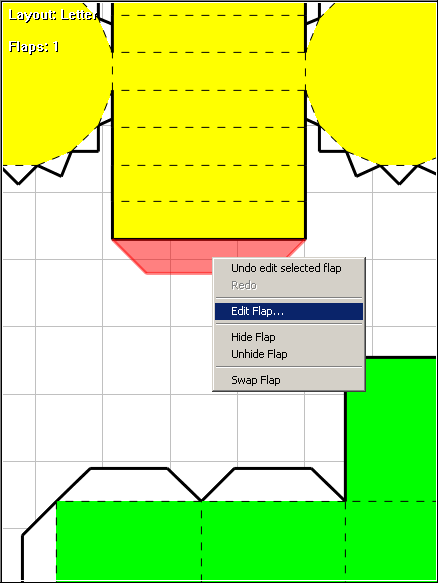
To edit a single flap, just click on it to select it, and right-click to bring up its context menu. From here, you can hide it, unhide it, or edit its properties with Edit Flap.
That's it! If you have any other suggestions about adding flaps, please let us know.