
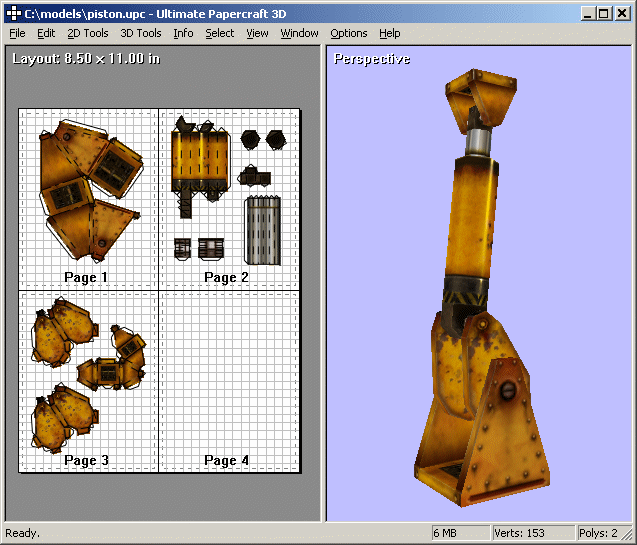
Workflow Tutorial for Ultimate Papercraft 3D
Let's go over the basic steps to import, unfold, and print out a papercraft model using Ultimate Papercraft 3D.
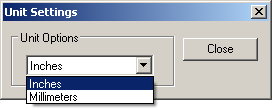
Unit Settings
When starting a new project, first customize your unit settings. By default, units are set to inches, but you may also select millimeters. See File | Unit Settings... for more information.
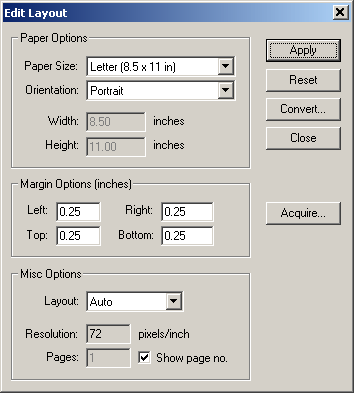
Layout
Next, customize your layout. By default, the layout is set to a paper size of 8.5x11 inches, but you may select something else, such as A4 paper. See Edit | Layout Settings... for more information.
Import
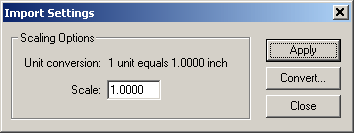
The next step is to import your 3D model. By default, Ultimate Papercraft 3D assumes that 1 unit equals 1 inch. This can be changed under File | Import Settings. However, if you don't know what units your model was created in, you can still scale it afterwards. See 3D Tools | ScaleTo | Model for more information.
Also, if you intend to use textures, make sure that your model is UV mapped. If any textures are missing, they can be reloaded using the Material Editor.
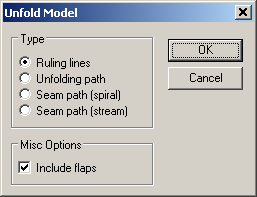
Unfold
After importing your model, the next step is to unfold it. See 2D Tools | Unfold Model for more information.
Once the model is unfolded, you can begin to separate parts or touch up areas that need attention. This also includes setting up flaps and line styles. See 2D Tools | Detach Faces for more information.
Tip: When unfolding, toggle off Layout Textures, Layout Materials, and Layout Edge Padding from the Layout Toolbar. This allows you to see lines and edges more clearly.
Organize
The next step is to align and arrange your parts so they fit neatly within the printable margins of your layout. Use multiple pages if necessary. Use tools such as object snapping, layout gridlines, and part alignment to make your task easier. See the Edit | Layout Snap and 2D Tools | Align Selection for more information.
Save
At this point, you should save your model. See File | Save for more information.
When it is time to print, you have several options. You can:
- Print directly to your printer.
- Export your layout as a bitmap file, which can be imported into any graphics program, such as Adobe Photoshop.
- Export your layout to a DXF file, if you have a cutting machine, such as Silhouette CAMEO, Craft ROBO or Brother ScanNCut.
- Export your layout to a SVG file, if you use a vector graphics editor, such as Inkscape.
- Print directly to a PDF file as a bitmap or as vector lines.
Tips
Here are some tips before importing your model into Ultimate Papercraft 3D:
- Textures/UV mapping - A 3D model should already be UV mapped if you intend to use textures.
- Model complexity - If you have a high poly 3D model with thousands of faces, its vertex/face count should be reduced before importing it. Simple is best. Remember, this is papercraft!
- Measurement/Scale - You should already have a good idea of how large your papercraft will be, and what paper size you will be using. It is best to resolve any scaling issues before unfolding!
- Model Quality - A good 3D model to unfold is low-poly, has clean and simple geometry, and has well-connected edges. Avoid unfolding high poly models, as they may have small or narrow triangles. A poly reduction tool is recommended to simplify your model.